Upload new uncatalogued data
Web-based uploads
To begin uploading data, you can either:
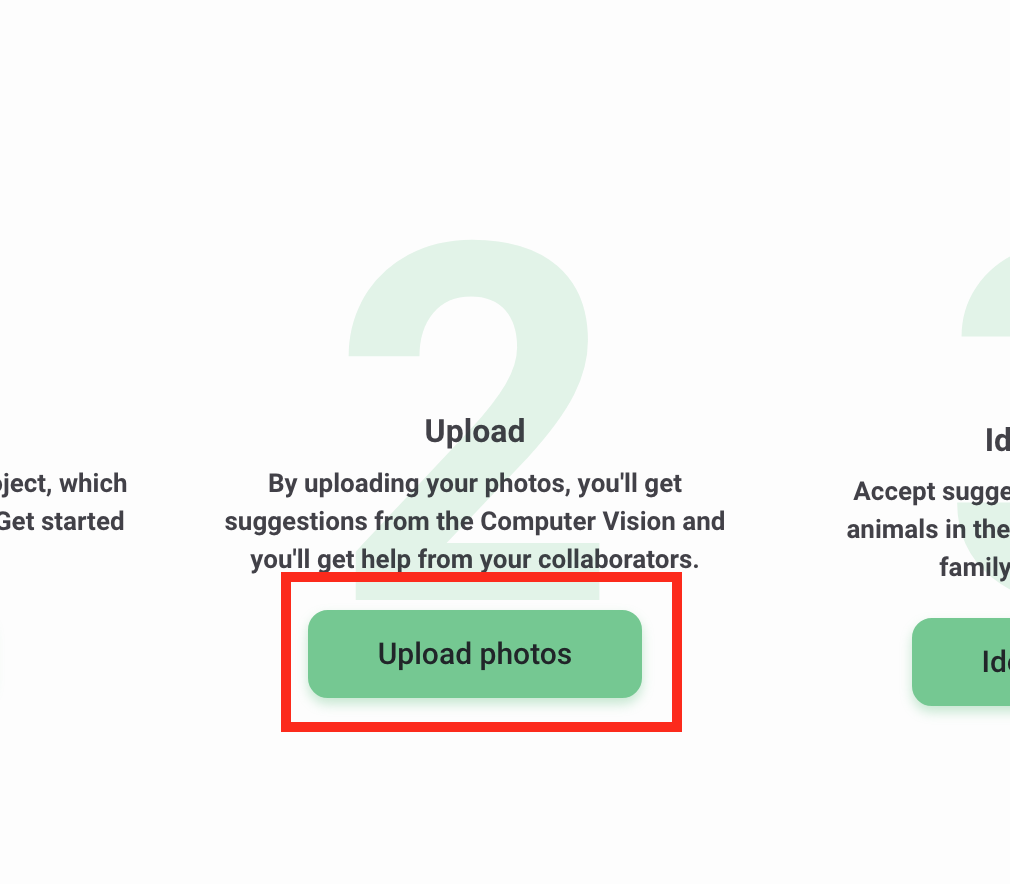
1. Click on the green Upload photos button underneath Step 2 of the Manage tab.
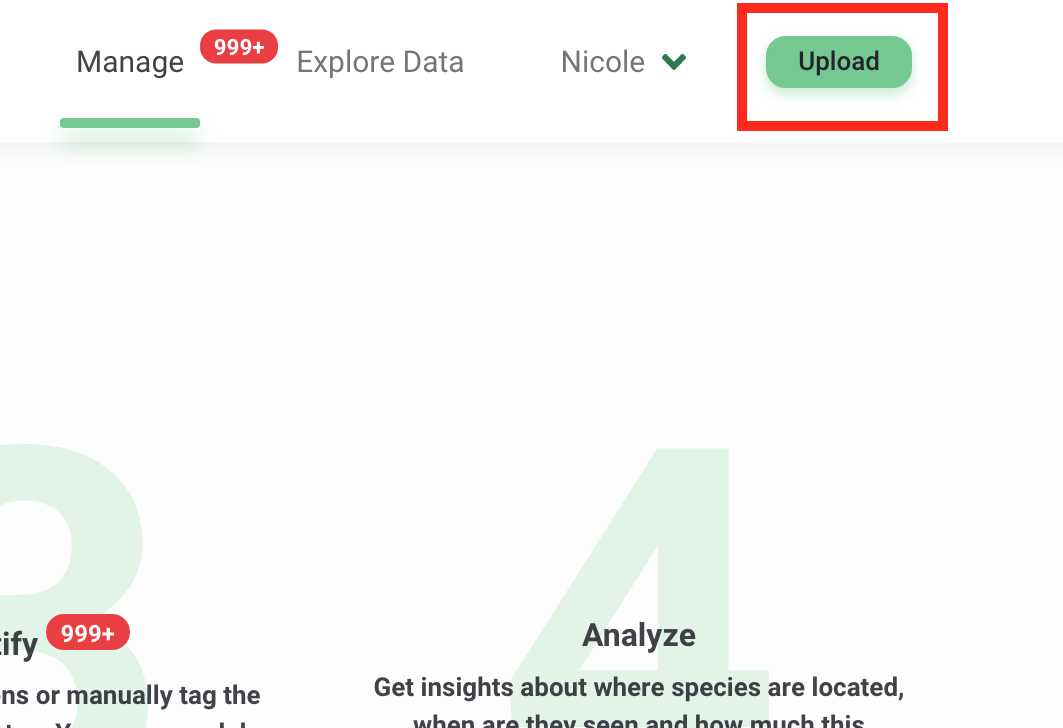
2. Click the green Upload button in the top right-hand corner of the screen
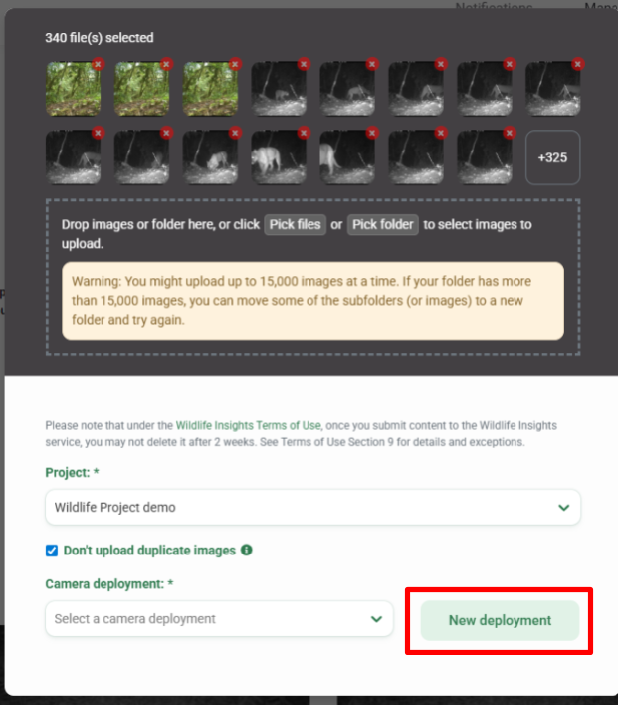
3. Choose the images to upload on the screen that opens. You can either select individual images to upload or select a folder of images.
Once images are selected, select the project and deployment where you want to upload these images. If you haven’t already created a deployment, click on the New deployment button to enter the relevant information to create a new deployment. Learn more about creating deployments.
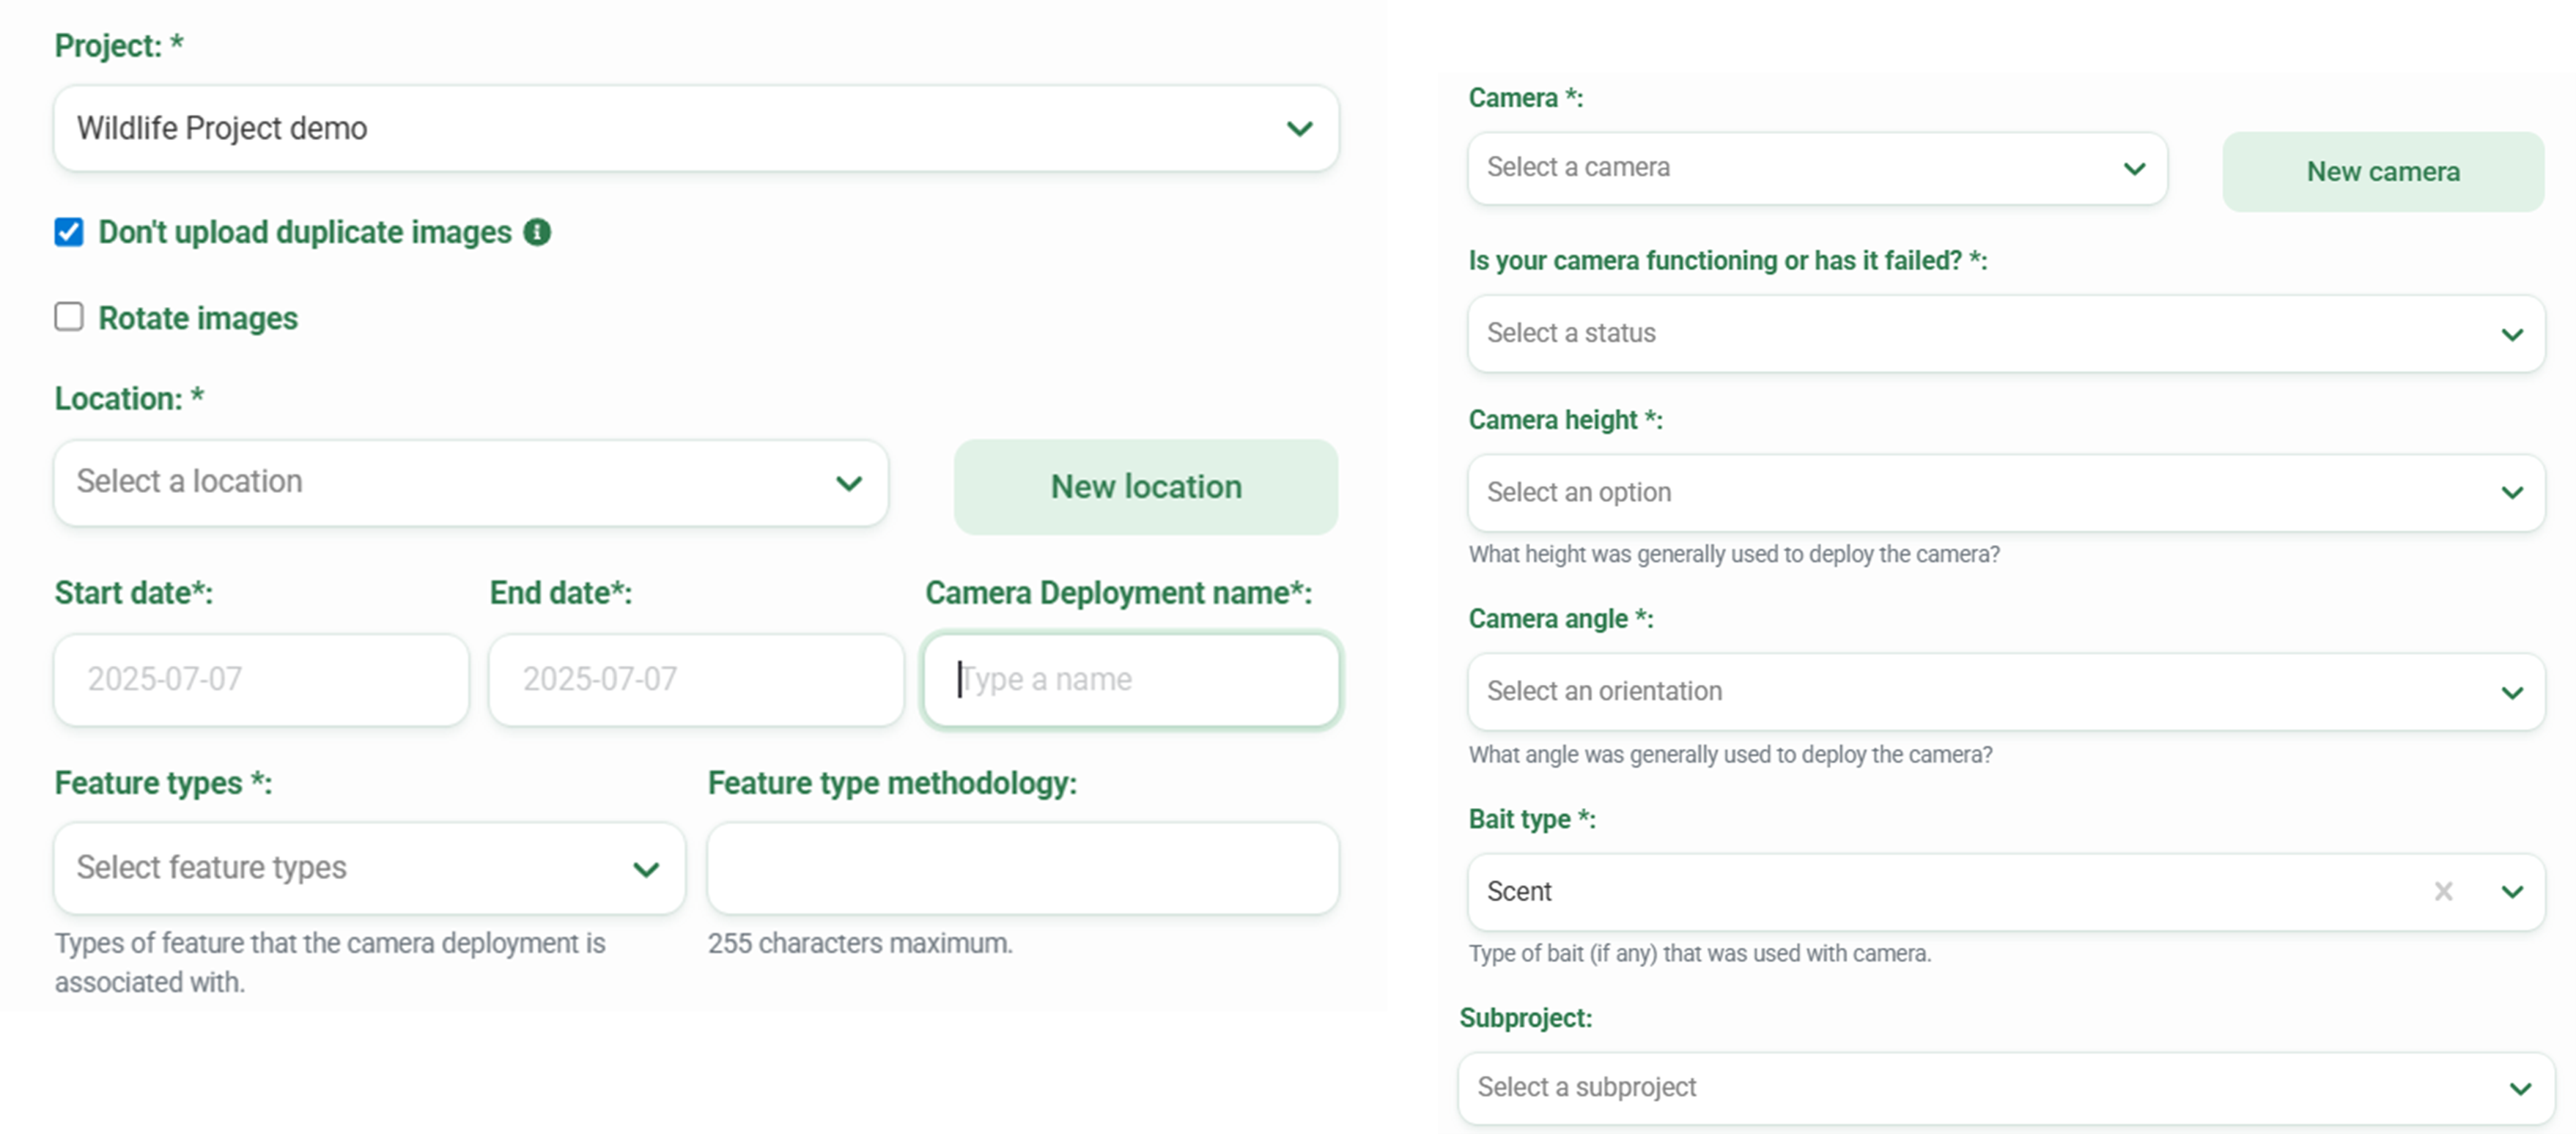
If you create a new deployment, you will be prompted to select a location (or create a new location.)
Notes:
- Each image uploaded must be under 20MB in size.
- You can only upload a fixed number of images at a time. If your folder has more than that number of images, you can move some of the subfolders (or images) to a new folder and upload them.
By default, Wildlife Insights will not upload duplicate images (i.e., images whose filename already exists in the selected deployment). You can turn off this option by unchecking the box Don't upload duplicate images.

If you set your camera to take vertically oriented images, you can rotate the images so they appear vertically in Wildlife Insights. Check Rotate images and upload a test image to preview, and click to rotate the image left or right. Once set, image rotation will apply to all images uploaded in the selected deployment after this date.

4. Click Upload to begin uploading images to the cloud and run images through the artificial intelligence species identification model.
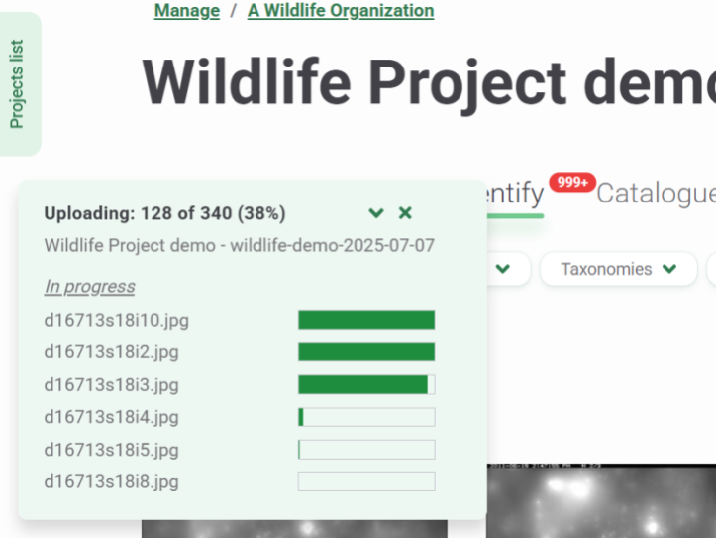
While images are uploading, you can work on other tasks in Wildlife Insights. When uploading images, a green window will appear showing the upload progress of each image. If an image fails to upload, we'll show you a list of those failures and automatically reattempt the upload twice.
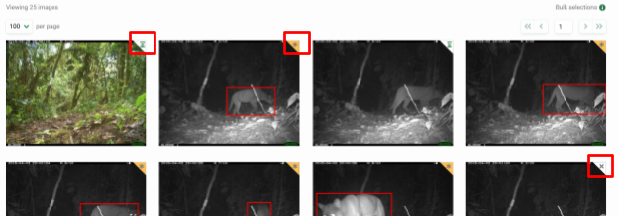
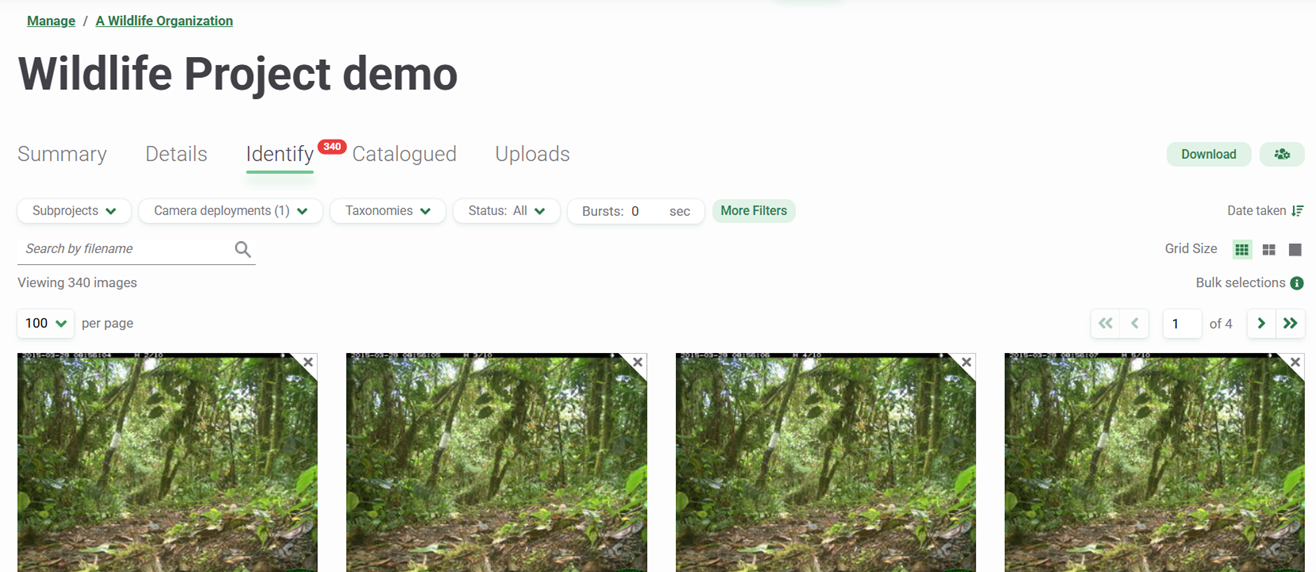
Uploaded images will start showing up in the Identify tab. However, if they have an hourglass icon in the upper right corner, the image is still in the queue to be identified by the artificial intelligence model. All images reviewed and assigned an object identification by the artificial intelligence model will have a gold marker in the top right-hand corner of the image. Blank images will have an X marker in the upper right corner.
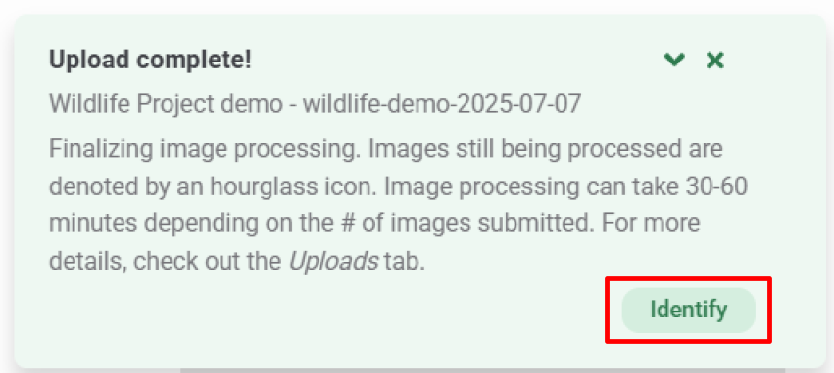
Once the upload completes, the notification “Upload complete!” will display with an Identify button to prompt you to review the uploaded images.
Monitoring image uploads
You can track the status of every image upload submission to a project in the Uploads tab.
In the Uploads tab, you can view the deployment name, the number of images submitted for upload, the total number of images uploaded to the deployment, the uploading start and end time, and the status of every image uploaded to the project.
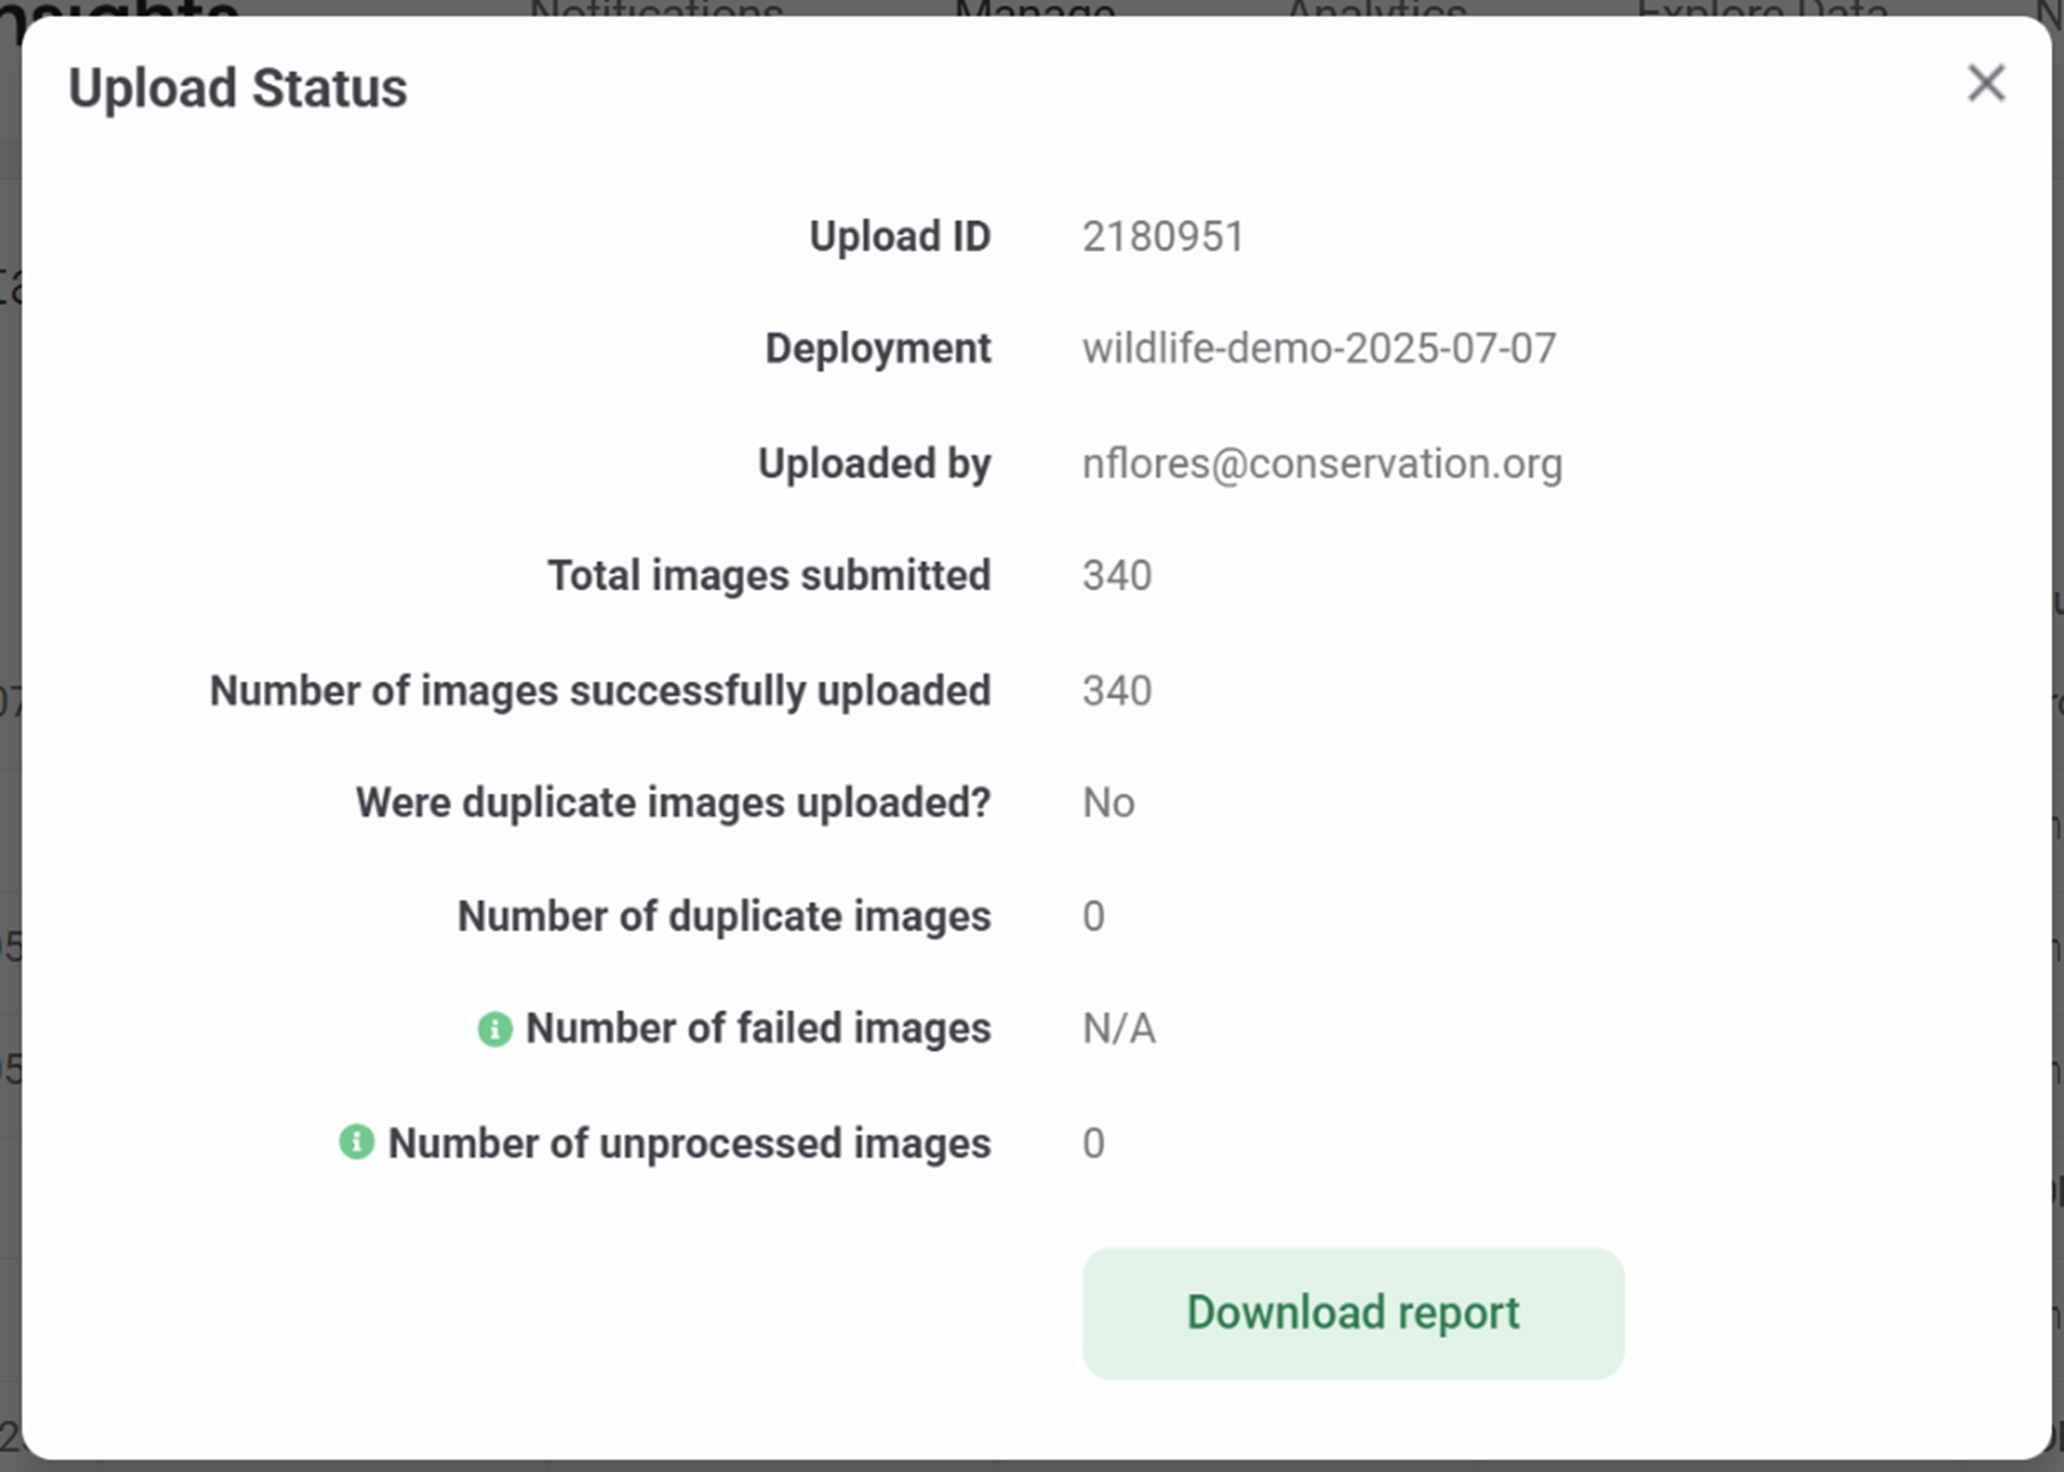
To view more details about an image upload submission, click the Details button next to the submission. You can view additional information such as the image upload ID, the number of duplicate images uploaded, the number of failed images (i.e., images that failed to upload), and the number of unprocessed images (i.e., images that were uploaded to Wildlife Insights but were not fully processed and thus may have incomplete metadata or a Computer Vision identification.)
For any failed images, you will need to resubmit them for upload.

Deleting Images
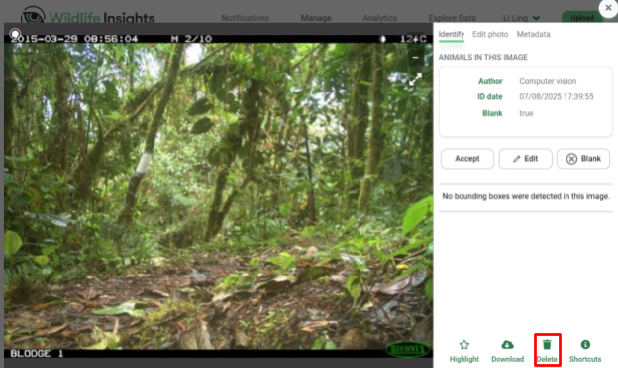
Project Owners can delete images from their projects at any time. To delete an image or set of images, select the images in either the Identify or Catalogued tabs of the Project by checking the white circle in the right-hand corner of the thumbnail image and click the Delete button (trashcan icon). Alternatively, you can double-click on the image thumbnail and click the green Delete button (trashcan icon) in the Identify screen.
Note: Once an image has been deleted, it cannot be undone.

Troubleshooting Data Uploads
Wildlife Insights stores data in the cloud. When you use the Wildlife Insights app to upload data, you will need an internet connection to upload your data to the cloud.
If the internet connection is weak or lost at any point during the upload process, Wildlife Insights will pause the upload and resume when the connection is back. With any internet browser, there’s a delay between when internet connectivity is lost and when an app detects the connection loss. Even though it’s a small lapse of time, it’s enough for a few photos to have begun uploading. Because of the connection loss, the app doesn’t know if the images were successfully uploaded. These images enter an “unknown” state, which means that the images may or may not have been successfully uploaded to the Wildlife Insights platform.
If any images fail to upload or are reported in an unknown state, Wildlife Insights will provide an error report that lists all of the successful, failed and unknown state images.
If you experience drops in your internet connection or are receiving other errors in the upload process, we suggest trying these fixes:
- Split your upload into smaller groups. Wildlife Insights is designed to handle large uploads. However, a weak internet connection could drop several times during a large upload. If uploading large amounts of data leads to an upload failure, try splitting your uploads into smaller groups.
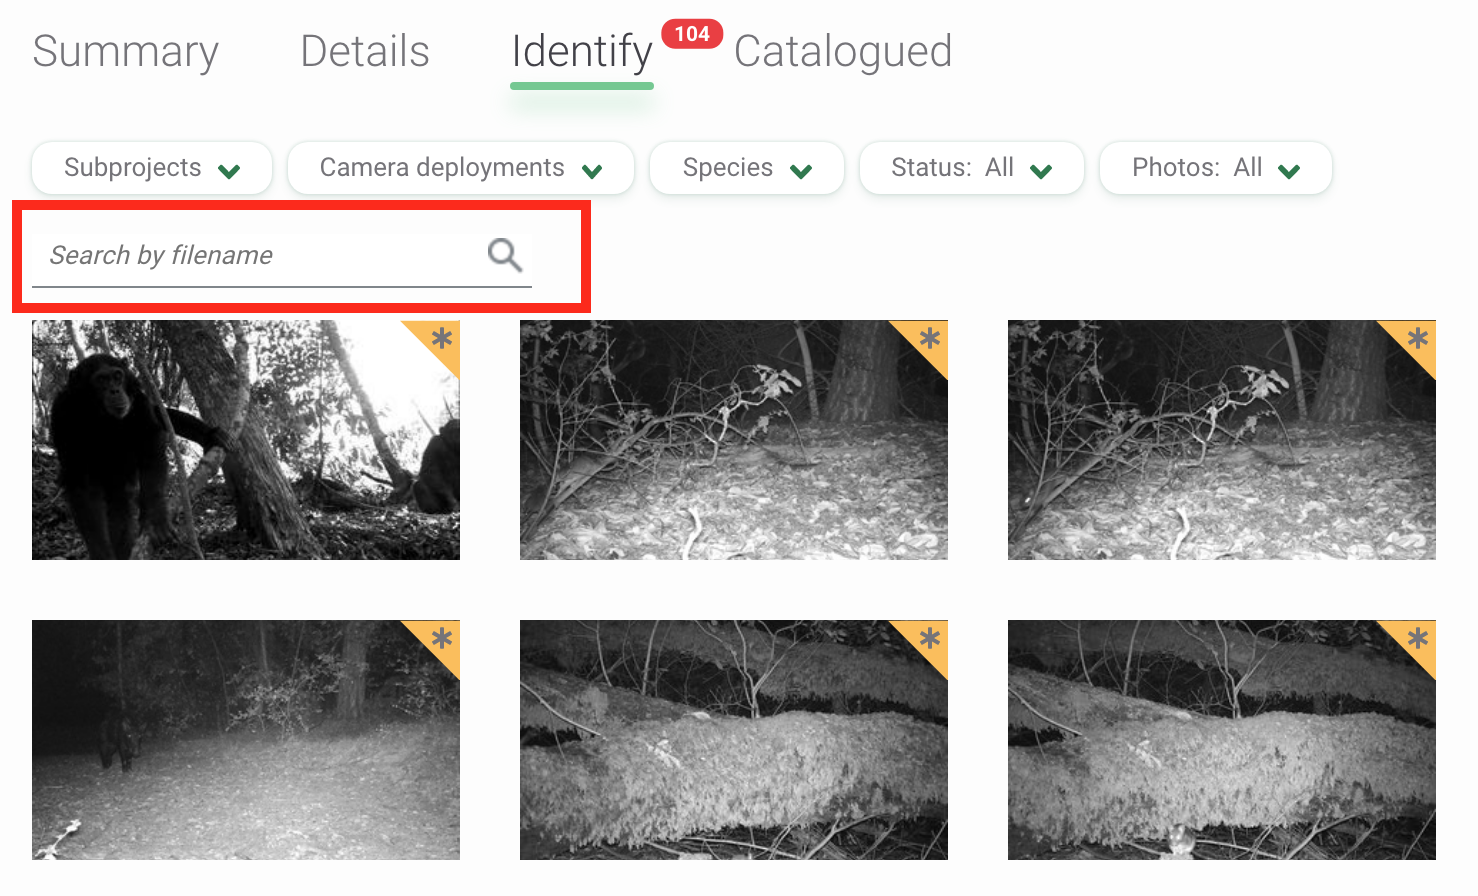
- Search for images in an "unknown" state. You can see if images in an unknown state were uploaded by searching for the filename listed in the upload report. Navigate to the Identify page and enter the filename in the search box below the filters.

 Back to the guide